Using OKPROXY on Windows
Prepare a computer that can run 24/7 as the encrypted proxy server. It must use 64-bit Windows 10 or Windows 11.
OKPROXY encrypts mining data before sending it to the pool over the internet, reducing the risk of the data being identified or disrupted while traveling across external networks. Mining machines connect to the computer running OKPROXY over a local area network (LAN). Make sure both are on a trusted LAN.
Run OKPROXY
- Download OKPROXY v2.4.2.
- Create an
okproxyfolder on the proxy server desktop and placeokproxy.exein it. - Double-click
okproxy.exe. A startup log file will appear in theokproxyfolder. - When OKPROXY starts successfully, its icon
 appears in the Windows system tray.
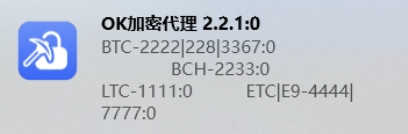
Click the OKPROXY icon to open its status panel.
Configure the pool address
After OKPROXY starts, enter the proxy pool address in the miner dashboard or mining software. Use this format:
stratum+tcp://proxy-server-IP:port
For example, if the proxy server IP is 192.168.152.128 and BTC uses port 2222, enter:
stratum+tcp://192.168.152.128:2222
Supported coins and ports:
| Coin | Port |
|---|---|
| LTC | 1111 |
| BTC | 2222, 228, 3367 |
| BCH | 2233 |
| ETC | 4444, 7777 (E9 only) |
Assign a static IP to the proxy server
To prevent the proxy server IP from changing after a restart or network reconnection, assign a static IP to the computer running OKPROXY:
Before setting a static IP
Make sure the IP address is not already in use by another device. We recommend using the IP address currently assigned automatically to avoid connection failures caused by an IP address conflict.
- Press
Win + R, enterncpa.cpl, and press Enter to open Network Connections. - Right-click the active connection and select
Status>Details. Record theIPv4 Address,IPv4 Subnet Mask,IPv4 Default Gateway, andIPv4 DNS Server. - Return to Network Connections, right-click
Ethernet, and selectProperties>Internet Protocol Version 4 (TCP/IPv4)>Properties. - Select
Use the following IP address, then enter the IPv4 address, subnet mask, and default gateway you recorded. -
Select
Use the following DNS server addresses. Enter the DNS values you recorded, or use223.5.5.5and114.114.114.114.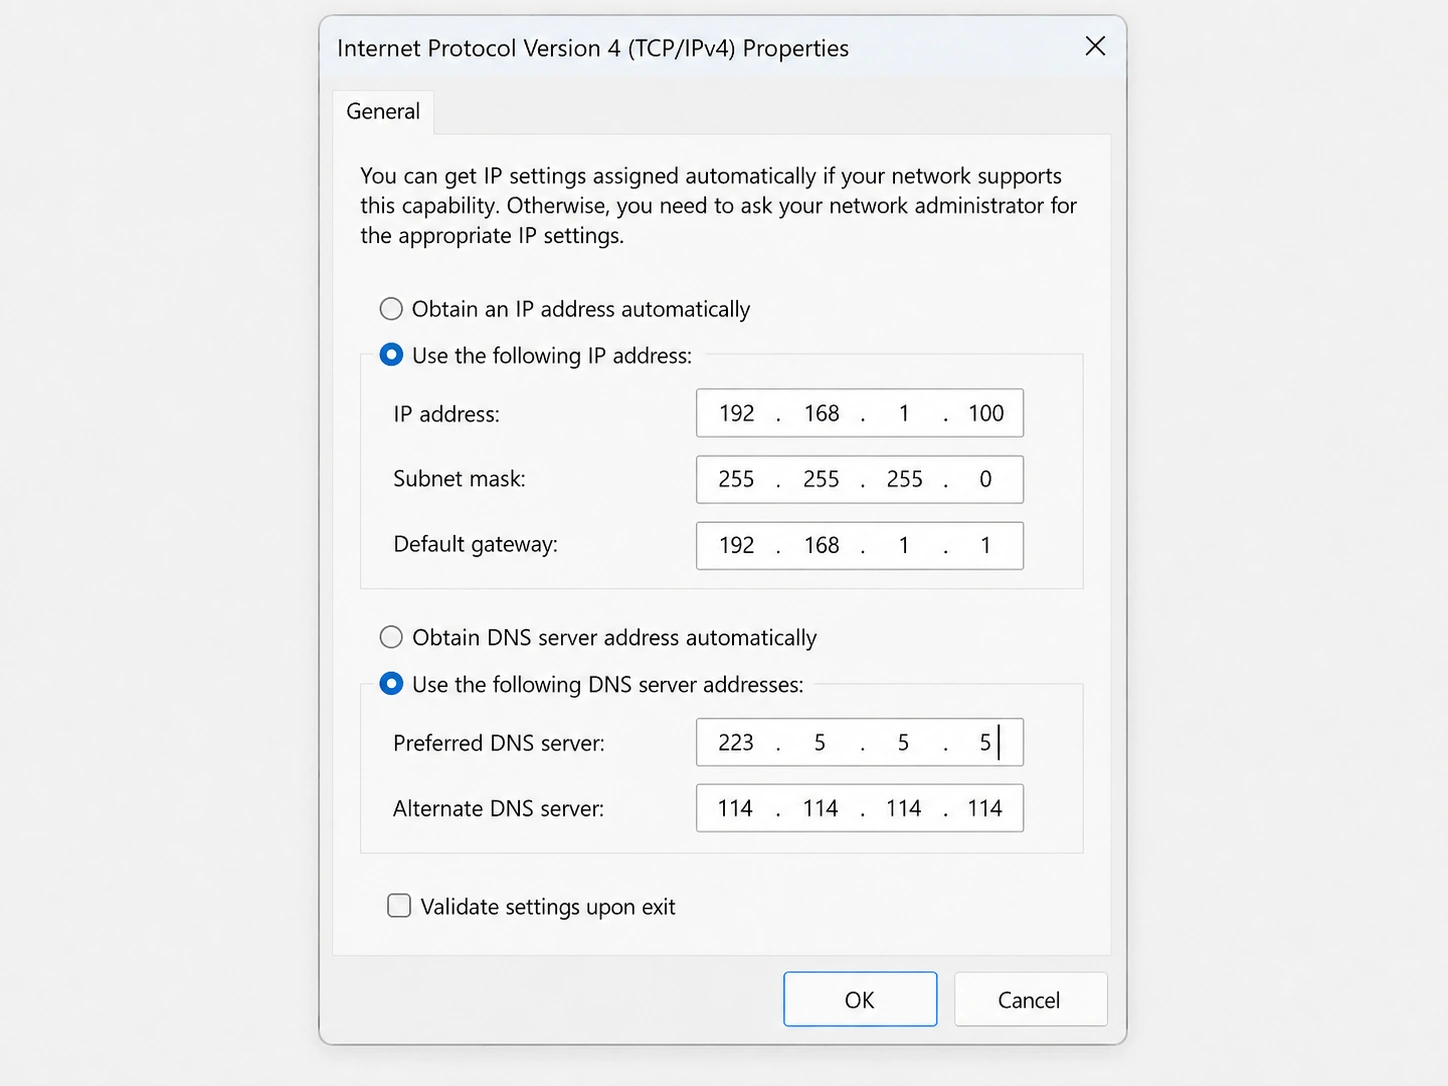
Figure: Example static IP and DNS settings. The values shown are for reference only. Enter the current network settings for your computer, and verify them before clicking “OK”. -
Click
OK. Return toStatus>Detailsand confirm thatDHCP EnabledshowsNo.
After changing the router or network
If the computer cannot connect to the internet, first select Obtain an IP address automatically. Once the connection is restored, set a static IP again.
If the proxy server IP changes, update the pool address configured on every affected miner.
Network requirement
Make sure the miners and the computer running OKPROXY are on the same LAN and connected to the same primary router.
Turn off Windows Firewall
Turning off Windows Firewall prevents it from blocking OKPROXY. If OKPROXY is blocked, miners may fail to connect, show no hashrate, or be unable to reach the proxy ports.
- Press
Win + R, enterfirewall.cpl, and press Enter to openWindows Defender Firewall. - Click
Turn Windows Defender Firewall on or off. Under bothPrivate network settingsandPublic network settings, selectTurn off Windows Defender Firewall. - Click
OK. If Windows asks for confirmation, clickYes. - Return to the Windows Defender Firewall page and confirm that the firewall is off for both private and public networks.
Disable sleep and hibernation
- Press
Win + R, enterms-settings:powersleep, and press Enter to open Power & sleep settings. - Under
SleeporScreen and sleep, setWhen plugged in, put my device to sleep aftertoNever. If a battery-powered option is shown, set it toNeveras well. - Press
Win + R, entercontrol powercfg.cpl, and press Enter. Next to the active power plan, clickChange plan settings>Change advanced power settings. - Expand
Hard disk>Turn off hard disk afterand set the value to0(Never). If both battery and plugged-in values are shown, set both to0. - Expand
Sleep>Hibernate afterand set the value to0(Never). If both battery and plugged-in values are shown, set both to0. - Click
Apply, thenOK.
Start OKPROXY at sign-in
- Open the
okproxyfolder on the desktop. - Right-click
okproxy.exeand selectCreate shortcut. - Press
Win + R, entershell:startup, and press Enter to open the Startup folder. - Copy the
okproxy.exeshortcut into the Startup folder.